DM Setup Part 1: Create Campaign

Now that you have decided to create your own Pokemon Campaign. Let's first give it a name. I decided to name this example campaign "Kanto Adventures", where my 4 friends are going to go through the Kanto region and become the best trainer ever. Next is the option for what game you will be playing. Currently there is only the option to play Pokemon, but much more is in the works.
The next line of information you will see pertain to how much you want to give your players. You can choose the limit on points for Characteristics, Attributes, and Elements. We set the recommended amount to start, but you can change that to make it so your players start a lot stronger or reduce it to make them weaker. For more information on Characteristics, Attributes and Elements read here.
You may also add a description of the campaign if you so wish.
Now just save and it will take you to the campaign and your DM control panel.
DM Setup Part 2: Item Libraries
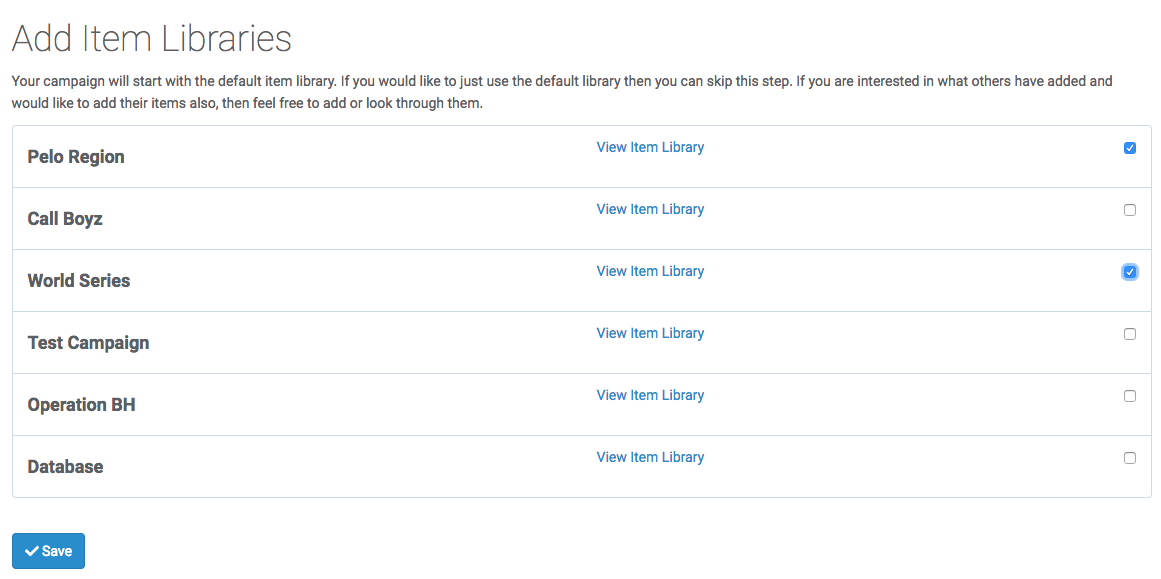
Whenever a DM creates an item to be used in its campaign, it is then added to its library. You can add others libraries to your campaign.
DM Setup Part 3: Unit Libraries
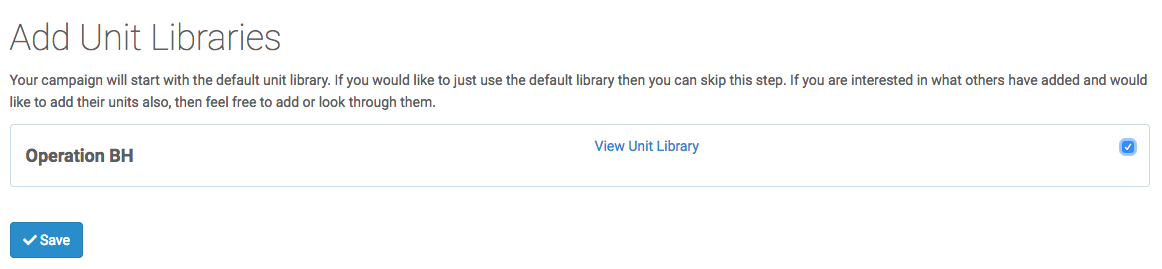
Units will be added as content with the game and you will be able to use these as you unlock them.
DM Setup Part 4: DM Toolbar

When the dm control panel opens up you will see your DM Toolbar. These are you quick access tools that you will use a lot in your gameplay. From healing pokemon to searching trainers. These will be super handy for you as you play to make your DM tasks much simpler
Starting from the top, you will see in the red bar your campaign name and to the right you will see your campaign code. This campaign code you will give to your players. When they create a character they will have to use this code to connect their character to your campaign. You can have as many people as you want join your campaign. Although the recommended amount for this Pokemon Campaign would be 3-5 players. We have tested up to 8 and works fine, but optimal is definetly 3-5.
Player Search: The player search bar is a select box that you can see all of your players. Selecting one of your players and then clicking search will bring up the selected trainer card. You can also find the trainer bag and pokemon roster there. We will go into more depth about this feature more in the future.
DM Toolbar: This is a very useful feature for you as a DM. Several of the things you will most commonly do are controlled here. First you can select any of your trainers or you can select all of them. In the second (blank) box you will enter a number. There are 4 things you can do with this amount you just entered. Give and take money or Give and take Experience. The green money and exp icons are buttons you can select to add the given amount to the trainer/s. The red buttons are to take away from them. The last blue icon is a "Heal All" button. This is your easy heal all of the pokemon the trainers hold. If they ever go to a pokemon center then this is the easy way to heal their pokemon quickly.
Pokemon Search: This is a tool for you as a trainer to quickly find pokemon for them to battle against. There are other tools that do this to, but this is one for your need. There is an extra feature this does where you can assign this pokemon a trainer or location and press the plus button and it will add it to the "Recent Battles" list. I personally use a monitor to show the people that I am playing with who they are fighting. I keep the Recent Battles page up and just reload it anytime a new pokemon comes. That way they can quickly see who they are fighting against just in case they don't know the pokemon.
Get all of your characters created now! We will come back after.
DM Setup Part 3: DM Toolbar
By now all of your characters should be created. They won't be able to see their characters though until you as the DM give them their first pokemon. We should get that out of the way right now. Go to the top menu and the third option will say 'Create'. If you click on that it will bring up a dropdown that has the option 'Units'. That is where we want to go.
Create Units